How to Organize a Lazy Susan Cabinet by Tray Shape
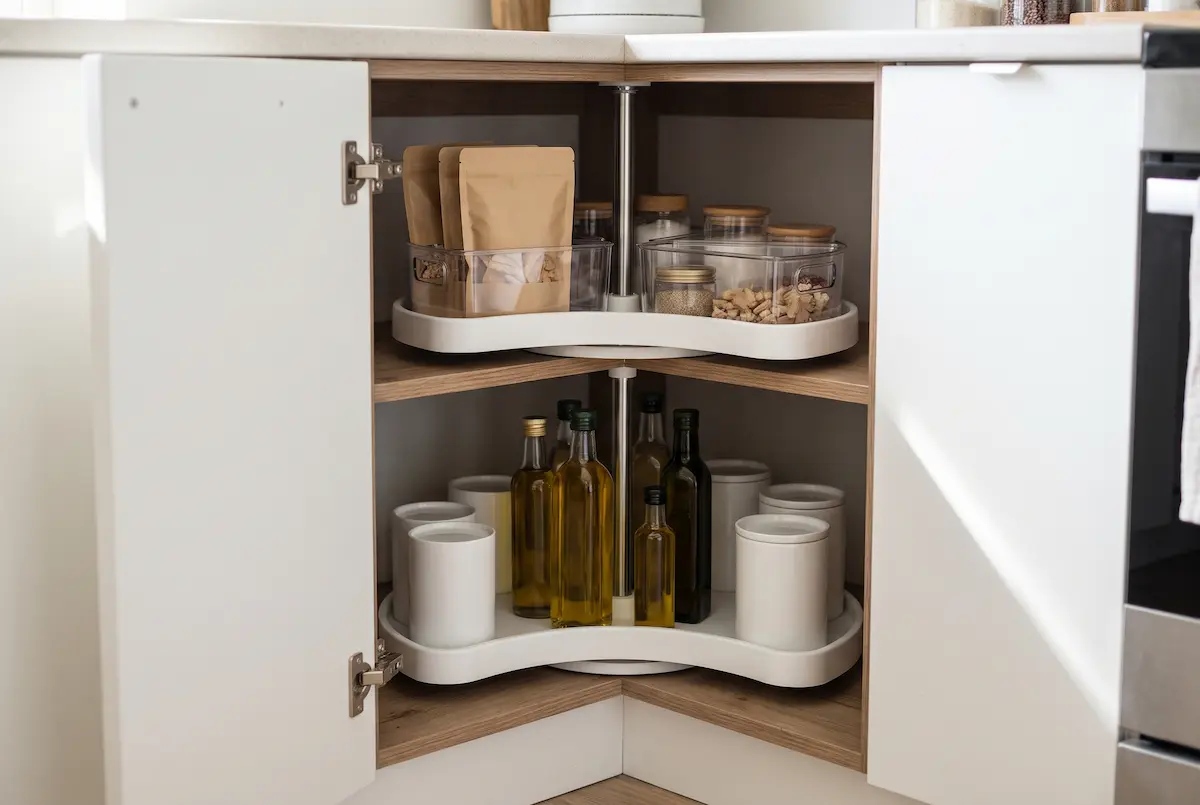
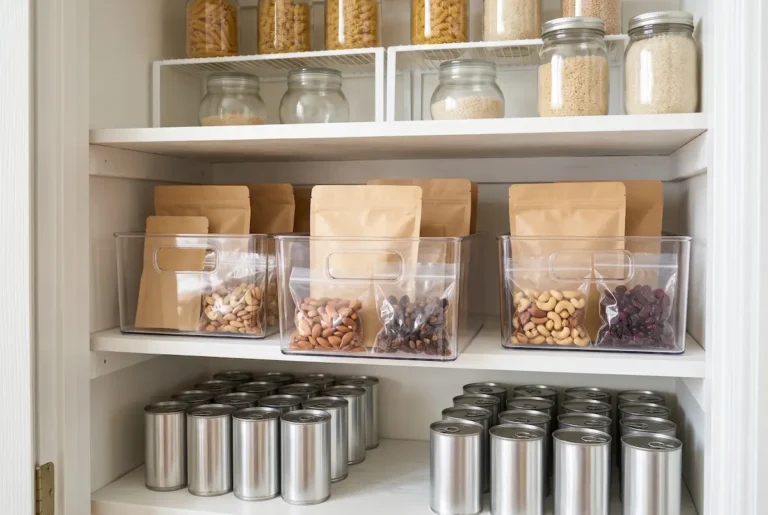
Short answer: Put heavy, short items like cans on the bottom tray and lighter, everyday things on top. Keep tall items toward the center and short ones at the edge, corral small items in bins, and leave a clear band at the rim. Most “lost” items roll off the back edge, so a rim or a bin wall does more than extra storage.
A lazy susan cabinet spins, so it should be the easiest corner of the kitchen to reach. In many homes it turns into the hardest one: jars tip over when you turn the tray, and a can that rolled off the back months ago keeps the tray from turning all the way. Most of the fix comes from where things sit on the tray, and that depends on which tray shape you have. Below is how to organize a lazy susan cabinet for each shape: what goes where, which bins fit, and how to keep things from falling behind.
First, check which lazy susan you have
Open the corner door and turn the trays slowly.
- Kidney: The door swings open on its own and leaves the trays sitting alone inside. A Woodworker Express sizing guide describes kidney trays as the ones made for these unattached doors. The tray has a curved notch cut out of one side.
- Pie-cut: The doors are fixed to the trays and rotate into the cabinet as you spin. The same guide says the pie-cut notch is a sharper 90-degree angle.
- Full circle: A round tray, common in upper corner cabinets.
- D-shape: A tray with one flat side, made for 45-degree diagonal corner cabinets.
The notch matters for organizing. On kidney and pie-cut trays it takes away roughly a quarter of the circle, so you have three usable zones instead of four. If you still need to work out diameters, our lazy susan size guide covers that.
Check the weight rating too
Lazy susan trays are not all built for the same load. In the listings we opened:
- An 18-inch kidney set for corner wall cabinets lists a 20-pound capacity.
- A 32-inch plastic kidney set for base cabinets also lists 20 pounds.
- A 32-inch wood kidney set lists 84 pounds per tray.
Look for a label under the tray or the brand name on the pole, then search the model’s manual. If you cannot find a rating, load it like a light-duty tray.
Worked example (illustrative): A common can size holds 14 to 15 ounces of food. At 15 ounces, 20 pounds is about 21 cans, and fewer once you count the can itself. That fills a tray faster than most people expect.
What to put in a lazy susan cabinet (and what to keep off it)
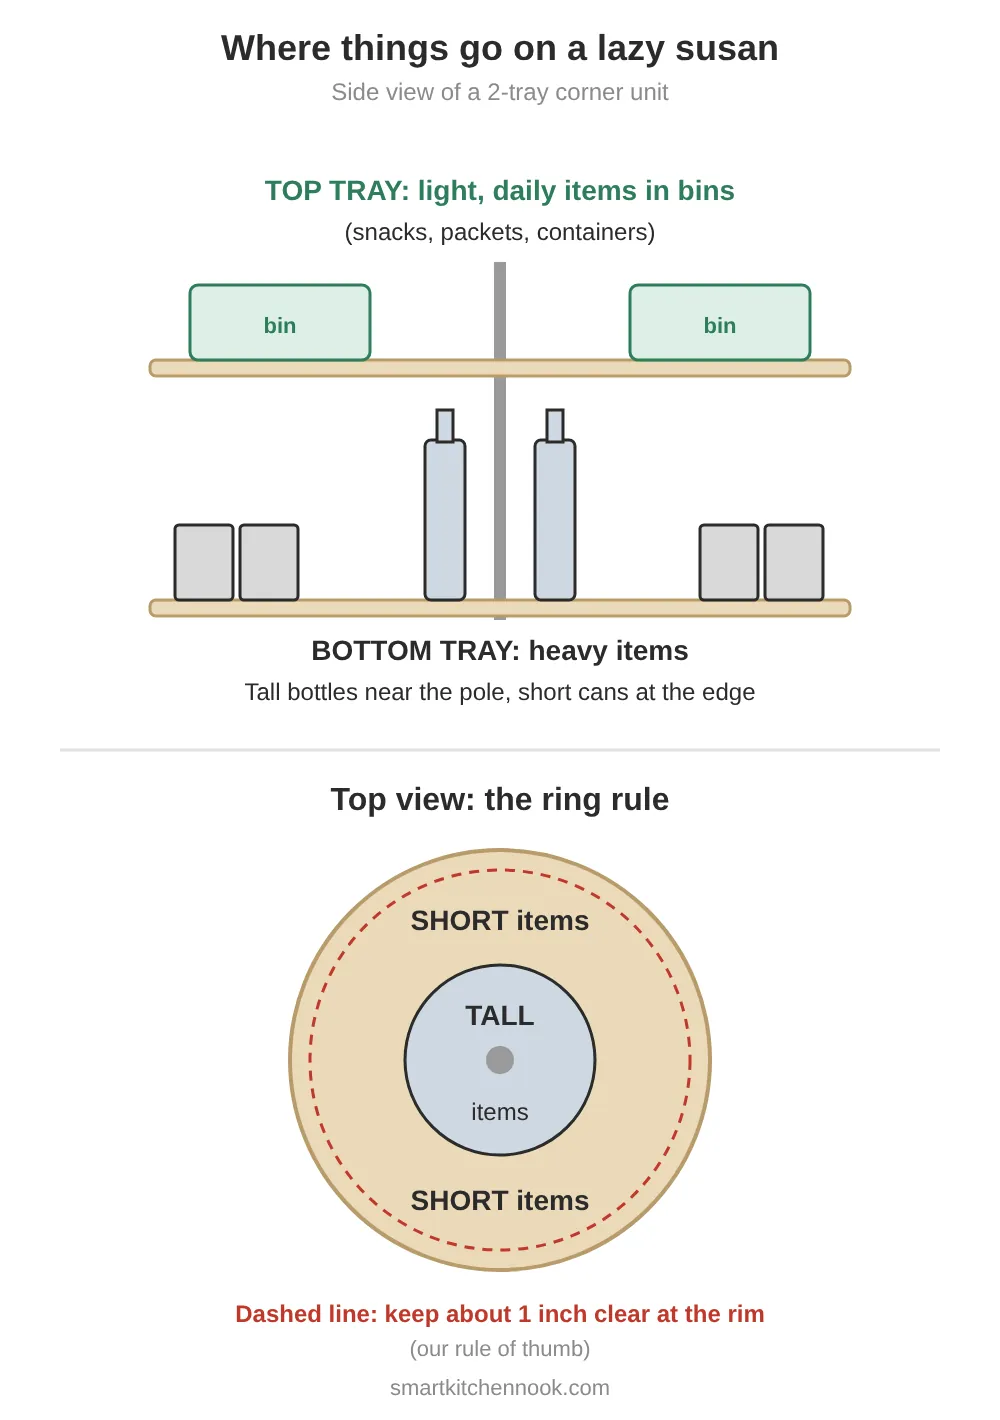
The best items are ones you use every week, that stand up on their own, and that you would otherwise lose in a deep corner. KraftMaid’s lazy susan care sheet gives one placement rule: taller items toward the center, shorter items toward the outside, so they don’t fall off as the tray turns.
| Item group | Tray | Where on the tray | Why |
|---|---|---|---|
| Canned goods | Bottom | Outer ring, labels facing out | Heavy and short; they stay upright near the edge |
| Oils, vinegars, sauce bottles | Bottom or top, by height | Inner ring, near the pole | Tall items tip less near the center |
| Baking supplies | Either | In wedge bins, one bin per group | Small jars and packets stay together |
| Snacks, pouches, seasoning packets | Top | In bins with sides | Loose, light items slide off first |
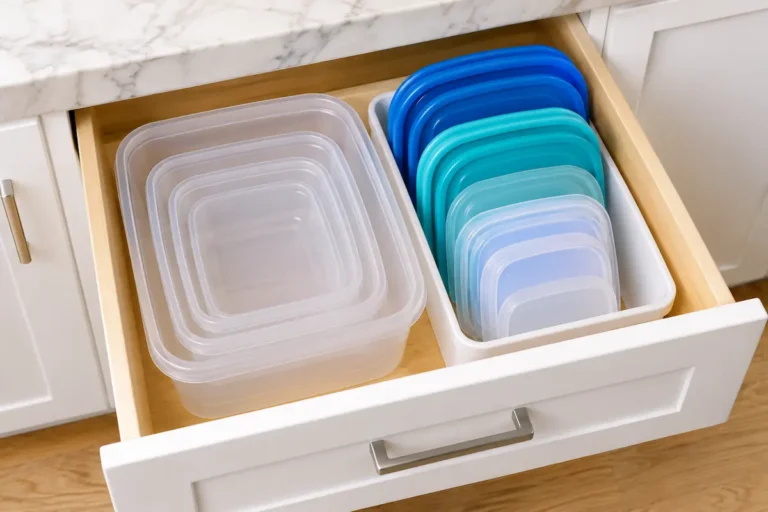
| Food storage containers and lids | Top | Nested in one bin | Light, and easy to grab at counter height |
| Mixing bowls, small pots | Bottom | Nested, centered | Only if the tray’s rating allows it |
Keep these off, or move them somewhere else:
- Anything that pushes the total past the tray’s rating.
- Items taller than the gap to the tray above. They catch as the top tray turns.
- Round loose items like onions, citrus or cans lying on their side.
- Small appliances, unless your tray is a heavy-duty base unit rated for them.
Why things fall behind a lazy susan (and how to stop it)
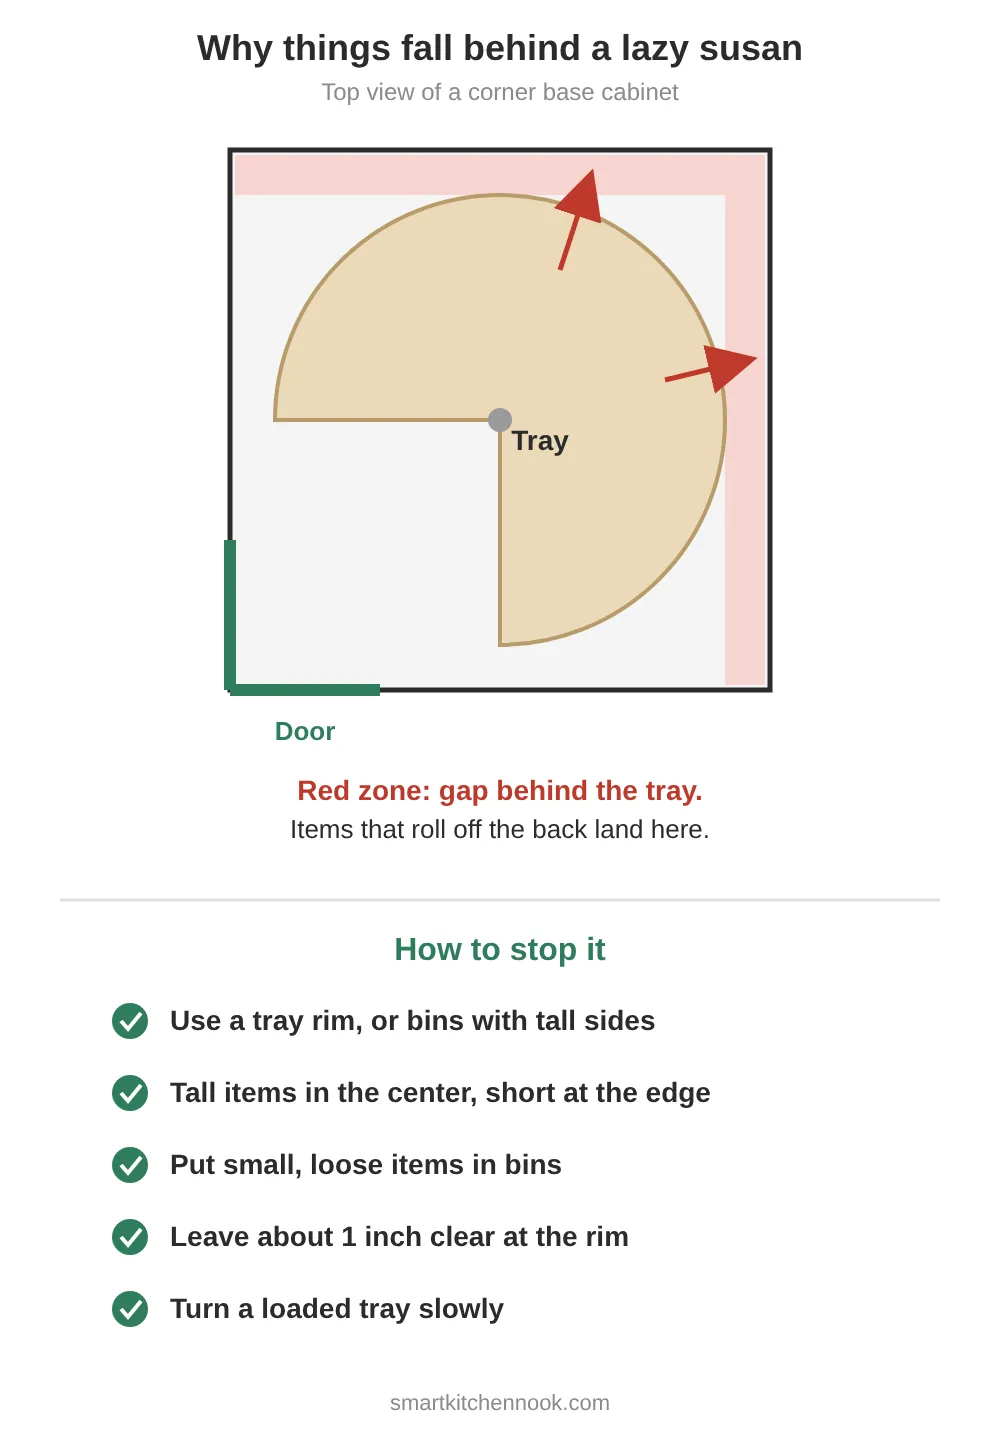
Things that fall off the back usually land somewhere you can’t reach. Corner cabinets are often set away from the walls on purpose; one cabinet maker’s installation guide notes an intentional void space behind the lazy susan cabinet. A fallen item can also wedge under the bottom tray. Hunker’s repair guide lists an item lodged behind the shelves as the first thing to check when a lazy susan won’t turn.
Where items escape
- The back edge. As the tray turns, anything near the rim swings past the open corner behind it.
- The notch edges. On kidney and pie-cut trays, items near the cut-out sit on the narrowest part of the tray.
- The top tray. Items that slide off the top tray drop onto the bottom one, or behind it.
Fixes that work
- Use a rim or make one. A Tasting Table guide recommends a lazy susan with a rim so items stay put when you turn it or open the door. If your tray has a low edge, bins with tall sides act as the wall.
- Keep a clear band at the edge. Leave about an inch clear at the rim. That is our rule of thumb, not a standard, but it gives items room to wobble without dropping.
- Tall in the middle, short on the outside, as KraftMaid recommends.
- Corral small things. Packets, tins and small jars go in bins, not loose on the tray.
- Add grip. Some freestanding turntables come with a liner; one listing describes a beaded non-skid rubber liner that keeps items from sliding as it spins. A cut-to-fit shelf liner does the same on a cabinet tray.
- Turn it slowly. A loaded tray that spins fast throws the outer ring.
If something already fell behind
- Empty both trays. KraftMaid’s adjustment steps start “with a completely empty cabinet,” and it is the safest way to look.
- Use a flashlight and a grabber tool to reach behind or under the bottom tray.
- If the tray is stuck, has dropped down the pole, or rubs the cabinet, stop there. Fixing it means adjusting the pole, bolts or bearings, which Hunker’s guide covers. If you rent, report it to your landlord instead of taking the hardware apart.
How to organize a lazy susan cabinet in 6 steps
- Empty it and spin-test. Turn each tray with nothing on it. Note any rubbing, and check behind and under the trays for anything that fell.
- Measure the gap between trays. Stand a tape measure on the bottom tray and measure up to the underside of the top one. Your tallest item, plus a little room to lift it out, sets the limit. Our guide to measuring kitchen cabinets for organizers shows how to find the real usable height.
- Assign the trays. Heavy and bulky items go on the bottom. Daily items go on the top tray in a base cabinet, since it sits closer to counter height.
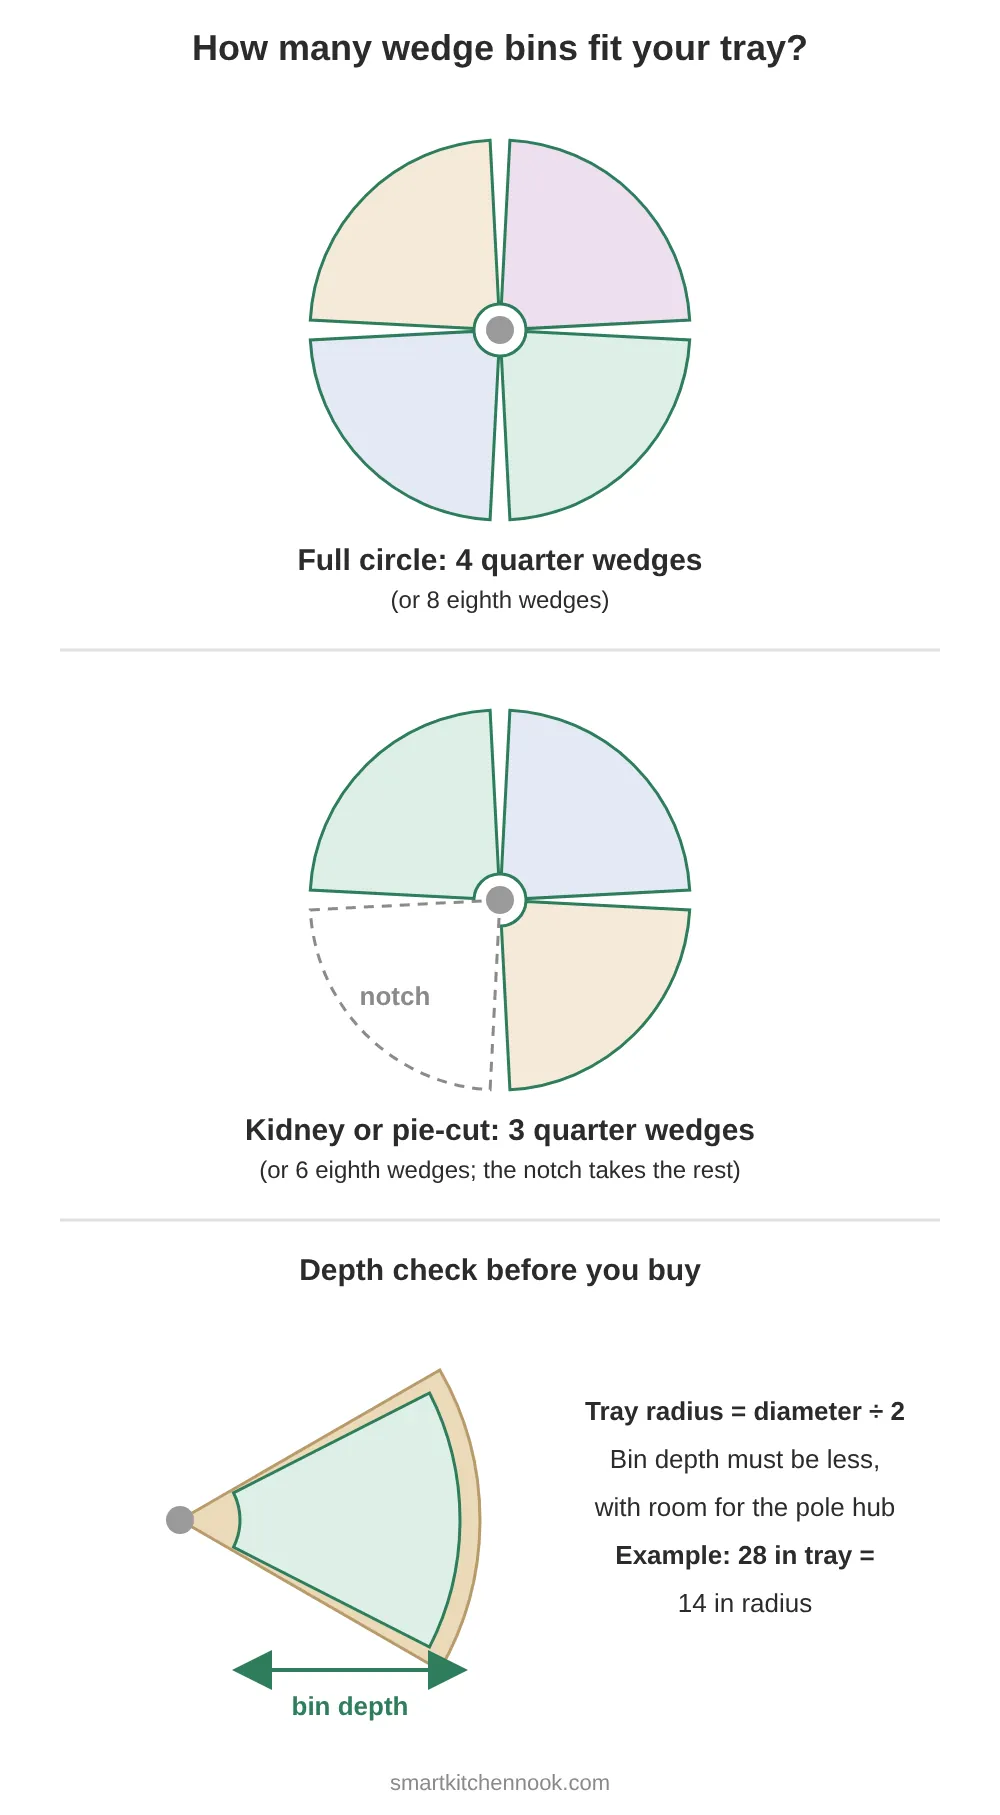
- Split each tray into zones. Think of the tray as a pie. A full circle gives you four zones; a kidney or pie-cut tray gives you three, because the notch takes the fourth. Give each zone one job, such as baking, cans, or sauces.
- Contain the small stuff. Use wedge bins or small boxes for anything shorter than your hand or lighter than a can.
- Rotate as you restock. Michigan State University Extension suggests putting newer items behind older ones. On a round tray, “behind” means the next slot around the ring. The same first-in, first-out habit works on deep pantry shelves. When you spot a dented, rusted or swollen can, throw it out; the USDA Food Safety and Inspection Service advises discarding cans in that condition.
Bins that fit a round or wedge-shaped tray
Square bins leave triangles of wasted space on a round tray, and their corners stick out past the rim. Wedge bins follow the curve. Two sizes show up in listings:
- Quarter wedge: one listing measures 16.35 x 10.83 x 4.05 inches, and four make a full circle.
- Eighth wedge: another lists a 9.5-inch width, 4-inch height and 20-pound capacity, with eight making a circle.
On a kidney or pie-cut tray, plan on three quarter wedges or six eighth wedges, since the notch takes about a quarter of the circle. That matches what one food editor found: she fit three wedge bins on each shelf of her lazy susan and sorted baking supplies by type.
Depth check (illustrative): A wedge bin’s depth runs from the rim toward the pole. Measure from the outer edge of your tray to the hub around the pole. On a 28-inch tray, the radius is 14 inches, so a 10.83-inch-deep quarter wedge leaves about 3 inches for the pole and hub. Measure your own tray before buying, since hubs vary.
Also check bin height against the gap you measured in step 2. A 4-inch bin plus a jar sticking out of it may hit the top tray.
Pie-cut trays: keep the notch clear
On a pie-cut lazy susan, the doors are fixed to the trays and swing into the cabinet as it turns. Anything that sits in the notch or hangs over its edges can stop the doors from closing flush. Keep every item inside the curved edge, and check the doors after you reload. If they still sit crooked with the trays empty, the unit needs adjusting; KraftMaid’s sheet shows how its doors are realigned, and other brands differ, so follow your own manual or ask your landlord.
Can pots and pans go on a lazy susan?
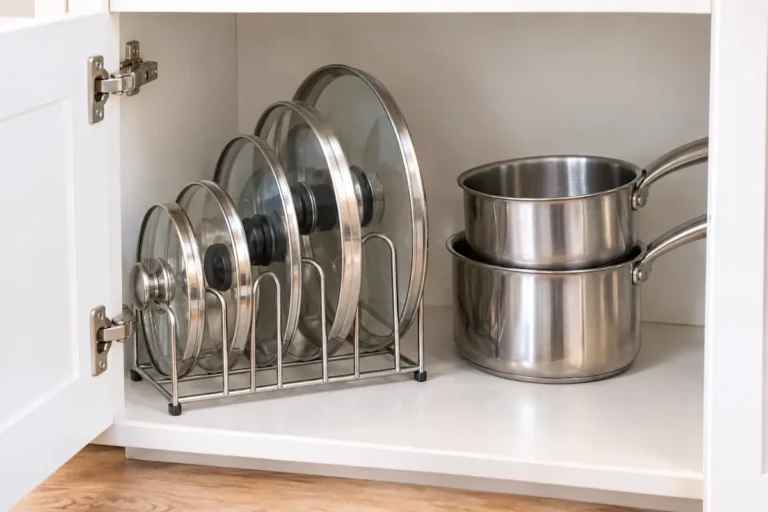
They can, if the tray’s rating and the gap between trays allow it. A heavy-duty base tray rated in the 80-pound range is a different job from a 20-pound plastic one. Nest pots from largest to smallest, center them on the bottom tray, and keep lids in a separate bin or upright in a rack so they don’t slide off the stack. For lid and pan storage in regular cabinets, see our guide to organizing kitchen cabinets.
If your pans are cast iron or your tray is light-duty, a lower cabinet with a fixed shelf is the better home for them.
No built-in lazy susan? Use a freestanding turntable
A corner cabinet with fixed shelves can still get the spin. A freestanding turntable sits on the shelf, needs no screws, and comes out when you move. A Fine Homebuilding project notes one advantage of setting turntables on shelves: anything that falls off the back gets caught by the shelf instead of dropping to the floor.
Pick one with a raised edge or a grippy liner, and leave room around it to turn. For sizes by shelf and cabinet, see the freestanding section of our lazy susan size guide. For more storage you can add without drilling, see our no-drill kitchen storage ideas for renters.
Thinking about replacing a built-in lazy susan instead? Compare lazy susan alternatives for corner cabinets by corner type and install level.FAQ
What is the best thing to store in a lazy susan cabinet?
Everyday items that stand up on their own: canned goods, bottles of oil and sauce, and baking supplies grouped in bins. Keep the heaviest items on the bottom tray and stay under the tray’s weight rating.
Why does my lazy susan get stuck?
The most common cause is an item that fell behind or under a tray. Other causes include a loose bolt at the top of the pole, loose screws on a shelf, or worn bearings at the base. Empty the trays and look behind them before adjusting anything. A cracked or warped shelf is a separate problem; see lazy susan replacement shelves.
Do I need bins for a lazy susan?
Not for cans and tall bottles. Bins help with anything small or light, like packets, tins and spice jars, because those are the items that slide off the edge.
What should you not put on a lazy susan?
Anything heavier than the tray’s rating, anything taller than the gap to the tray above, and round items that roll, like onions or cans on their side. Heavy cast iron belongs on a fixed shelf unless the tray is a heavy-duty unit rated for it.
How we put this guide together
This guide is based on manufacturer and retailer information for lazy susans and wedge bins (KraftMaid, Build.com, Home Depot Canada, Lowe’s, Ace Hardware, Wayfair), a cabinet installation guide from American Woodmark, sizing guidance from Woodworker Express, repair guidance from Hunker, organizing advice from Tasting Table, Apartment Therapy and Fine Homebuilding, and food storage guidance from Michigan State University Extension and the USDA Food Safety and Inspection Service. We also read forum discussions where people describe items falling behind their lazy susans. We did not test these products. The 1-inch clear band and the wedge counts for notched trays are our own rules of thumb, worked from listed dimensions. Weight ratings and sizes vary by model, so check your own tray’s label or manual.