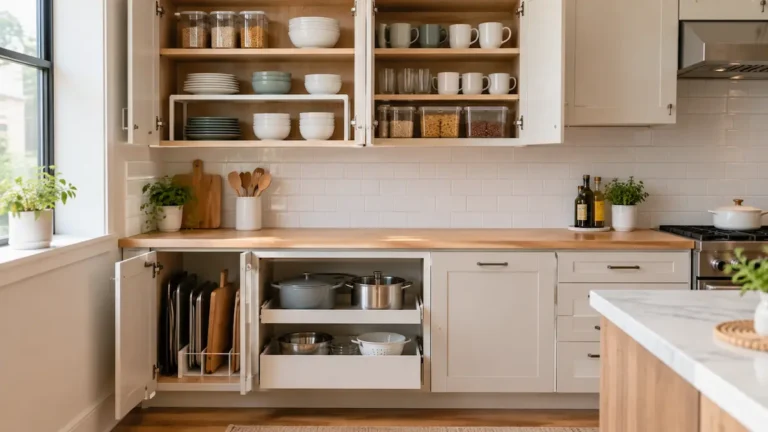
Small Kitchen Organization Ideas: A Practical System for Cabinets, Counters & More
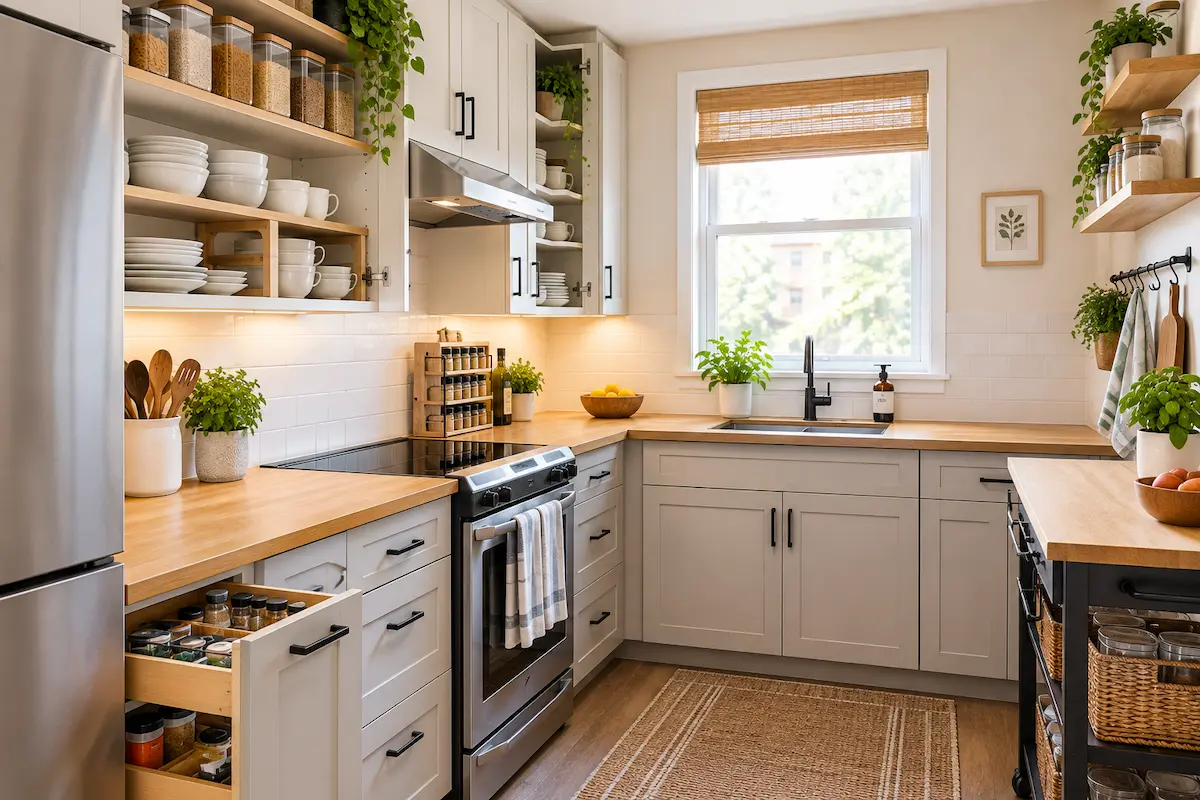
A small kitchen can feel crowded even when you do not own that much.
The problem is often not simply a lack of cabinets. It is that everyday items are difficult to reach, counters become the default storage area, and the same few spaces get overloaded while other areas sit unused.
That is why the most useful small kitchen organization ideas start with the way you use the room.
Instead of buying organizers first, build a simple system: reduce what you need to store, divide the kitchen into practical work zones, give everyday items the easiest access, and then improve specific storage problems one at a time.
The goal is not to make every inch of the kitchen look full.
It is to make the kitchen easier to cook in, easier to clean, and easier to reset.
What Makes Organizing a Small Kitchen Different?
In a larger kitchen, inefficient storage can be annoying without necessarily stopping you from using the room.
In a small kitchen, the same mistake can affect your entire workflow.
A bulky appliance can remove most of your usable counter space. A badly arranged cabinet can make several shelves difficult to reach. A drawer full of unrelated tools can turn a simple cooking task into a search.
Small kitchens therefore benefit from prioritizing access and function, not just storage capacity.
You want the things you use most to be easy to reach and the things you use least to stop taking up your best storage locations.
Step 1: Reduce What the Kitchen Has to Hold
Before reorganizing cabinets, decide whether everything currently in the kitchen needs to stay there.
Start with one cabinet, drawer, or shelf rather than emptying the entire kitchen.
Remove:
- Duplicates
- Broken items
- Expired food
- Containers without useful matching lids
- Gadgets you never use
- Appliances that have not been used in a long time
- Items that belong somewhere else
Then divide the remaining items into three simple groups:
Daily: used frequently.
Occasional: useful, but not part of your normal routine.
Rarely used: seasonal, specialty, or seldom-needed items.
This distinction will make the rest of the organization process much easier.
A small kitchen has limited prime storage, so the things you use every day should not have to compete with things you use twice a year.
Step 2: Organize Around Your Kitchen’s Main Tasks
Once you know what you actually need, think about where those items are used.
Common kitchen tasks include:
- Preparing food
- Cooking
- Cleaning
- Making coffee or breakfast
- Storing food
- Serving meals
You do not need a perfectly separate cabinet for every task.
Instead, keep frequently used items reasonably close to the place where the task happens.
For example, measuring tools and mixing bowls make sense near your main preparation area.
Cooking utensils should be reasonably close to the stove.
Dish soap and cleaning supplies belong near the sink.
Coffee supplies can stay together rather than being spread across three cabinets.
This reduces the amount of unnecessary movement in a small kitchen.
Step 3: Create a Daily-Use Zone
Your easiest-to-reach storage should support your normal routine.
Think about what you reach for almost every day:
- Plates
- Glasses
- Mugs
- Cooking utensils
- Cutting boards
- Favorite pans
- Coffee supplies
- Frequently used pantry items
Give these things the most convenient locations.
Then move less frequently used items higher, farther back, or into less convenient storage.
This simple change can make a small kitchen feel more functional without buying anything.
A useful test
Open a cabinet and ask:
“If I cook a normal meal tonight, what will I need from here?”
If the answer is almost nothing, that cabinet may be using valuable space inefficiently.
Step 4: Protect Your Main Counter Work Area
Counter space is not just another storage surface.
It is where you prepare food.
That makes it one of the most important working areas in a small kitchen.
You do not need a completely empty countertop. Some frequently used appliances and accessories may deserve to stay out.
But everything left on the counter should have a reason.
Ask:
- Do I use this often?
- Does it make cooking easier?
- Could it live somewhere else without becoming annoying to retrieve?
If an appliance is used once a month, it probably should not automatically receive permanent counter space.
Try to protect at least one practical section of counter for chopping, mixing, plating, or other preparation.
Step 5: Use the Full Height of Your Cabinets
Look at the empty space above your plates, bowls, mugs, cans, and containers.
If a cabinet has a lot of unused height, a suitable shelf riser may create another usable level.
This can be particularly helpful when you have short items occupying the bottom half of a tall cabinet.
Before buying a riser, measure:
- Cabinet width
- Cabinet depth
- Available height
- Shelf thickness
- Door clearance
Do not add a second level if it makes the cabinet harder to use.
The purpose is to make the existing space more accessible, not simply to fit more objects inside.
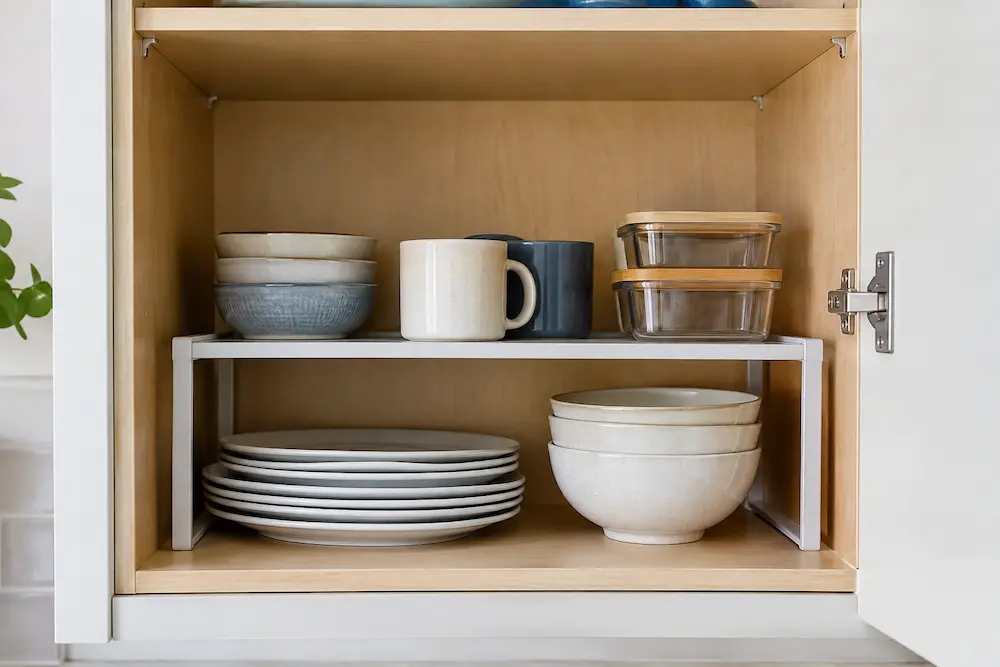
For a more detailed step-by-step approach to arranging cabinet contents, see our guide to How to Organize Kitchen Cabinets.
Step 6: Make Deep Storage Easier to Scan
A deep cabinet can technically hold a lot while still being frustrating to use.
If you cannot see what is behind the first row, you may forget what you own or buy duplicates.
Group similar items together and avoid hiding small things behind large ones.
For suitable cabinets, removable bins can make categories easier to pull forward.
A turntable may work for some bottles and condiments.
In other situations, simply reducing the number of items on the shelf may solve the problem.
Before adding an organizer, ask whether the real issue is too much stuff or poor access.
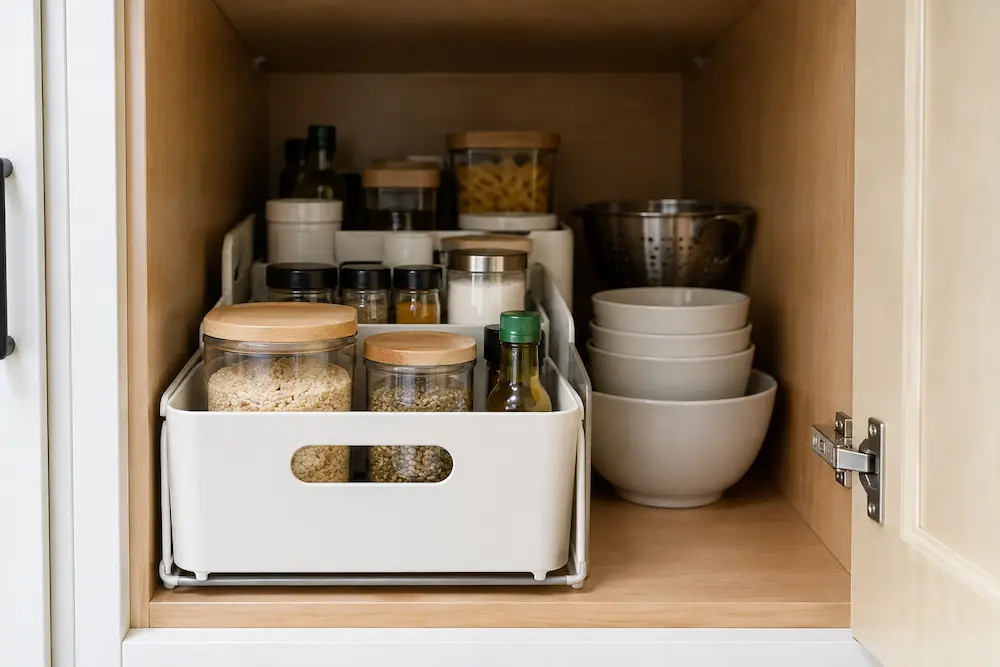
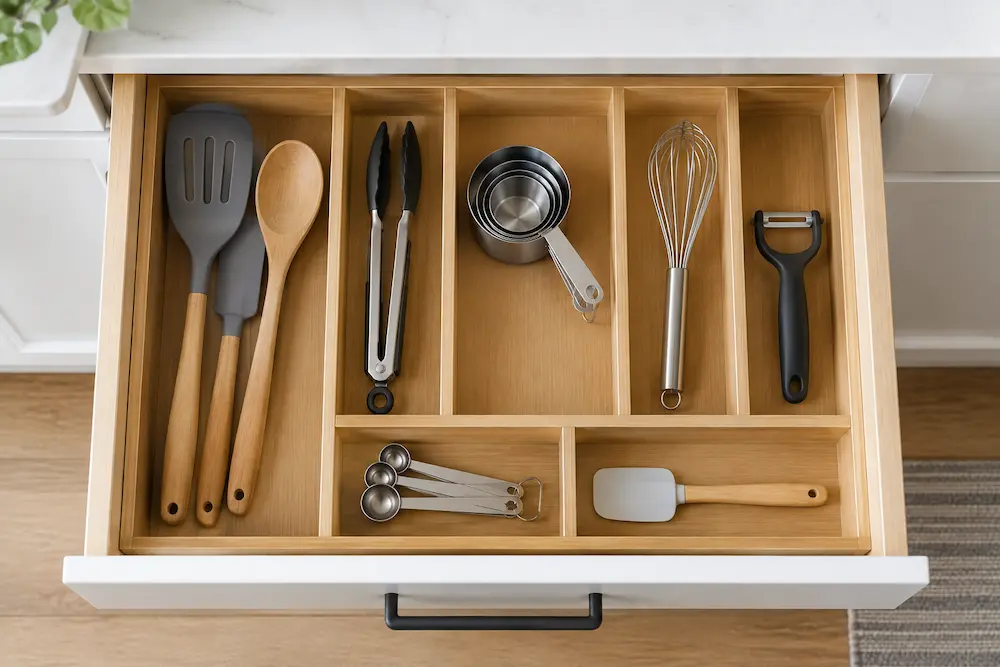
Step 7: Give Every Drawer a Clear Job
Drawers work better when you know what belongs in them.
Instead of one large drawer filled with unrelated kitchen tools, create simple categories.
For example:
Prep drawer: peelers, measuring tools, small prep accessories.
Cooking drawer: spatulas, tongs, serving utensils.
Food-storage drawer: clips and other suitable accessories.
Towel drawer: kitchen towels and cloths.
The categories will depend on your kitchen.
The important part is that you can open a drawer and immediately understand what belongs there.
A drawer divider or adjustable organizer can help if items repeatedly become mixed together.
But if the drawer already works, do not add an organizer simply because it is available.
Step 8: Store Flat Items Vertically
Cutting boards, baking sheets, trays, and similar items are often stacked horizontally.
That can make the bottom item difficult to reach.
A suitable vertical divider can allow these pieces to stand upright instead.
This gives each item its own accessible position.
It also makes it easier to see what you have without lifting an entire stack.
Make sure the divider is stable and appropriate for the cabinet.
The goal is easier access, not simply a different arrangement.
Step 9: Use Cabinet Doors for Small Items
The inside of a cabinet door is easy to overlook.
Depending on the cabinet and the organizer, it can sometimes hold lightweight items such as:
- Measuring spoons
- Small kitchen tools
- Wraps
- Lightweight accessories
- Cleaning items
Keep the organizer shallow enough that the door can still close.
Also check weight limits and clearance.
If the door cannot close properly, the extra storage is not helping.
For renters who specifically need removable, no-drill solutions, our separate guide covers no-drill kitchen storage ideas for renters.
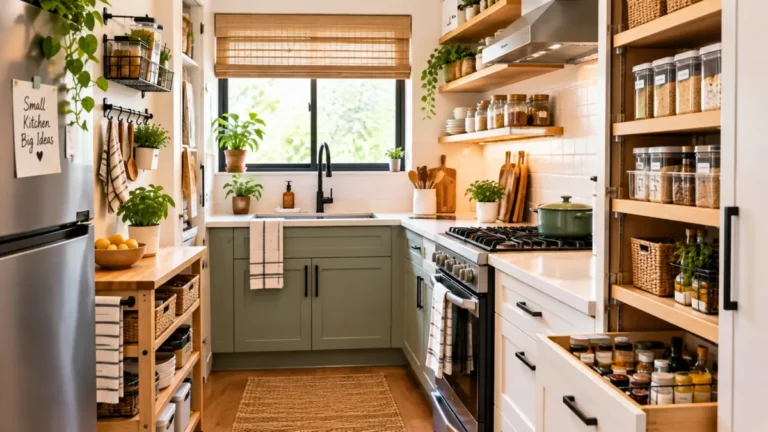
Step 10: Create a Compact Pantry System
A small kitchen does not need a large pantry to have organized food storage.
You can create a pantry zone inside one cabinet or across a few shelves.
Group foods into practical categories such as:
- Breakfast foods
- Snacks
- Pasta and grains
- Baking supplies
- Tea and coffee
- Small packets
The important thing is consistency.
If snacks move between four different cabinets, they become difficult to inventory.
If similar items have a predictable home, grocery shopping and meal preparation become easier.
You also do not need matching containers for every food item.
Simple category bins can be enough when the cabinet is measured correctly.
Step 11: Organize by Frequency, Not Just Category
Category-based organization is useful, but frequency matters just as much.
For example, you might keep all baking supplies together.
But if you bake once every two months, that category does not necessarily deserve the easiest cabinet shelf.
Meanwhile, everyday dishes may deserve prime space even if they take up more room.
Think of your storage as real estate.
The easiest spaces should go to the items that earn them through frequent use.
Step 12: Give Small Appliances a Storage Priority
Small appliances can quickly take over a compact countertop.
Instead of deciding based only on appliance size, consider frequency.
A coffee maker used every morning may deserve permanent counter space.
A specialty appliance used a few times a year may not.
If several appliances are rarely used, group them together in suitable storage rather than allowing each one to occupy a separate prime location.
This can make a surprisingly large difference to a small kitchen’s working space.
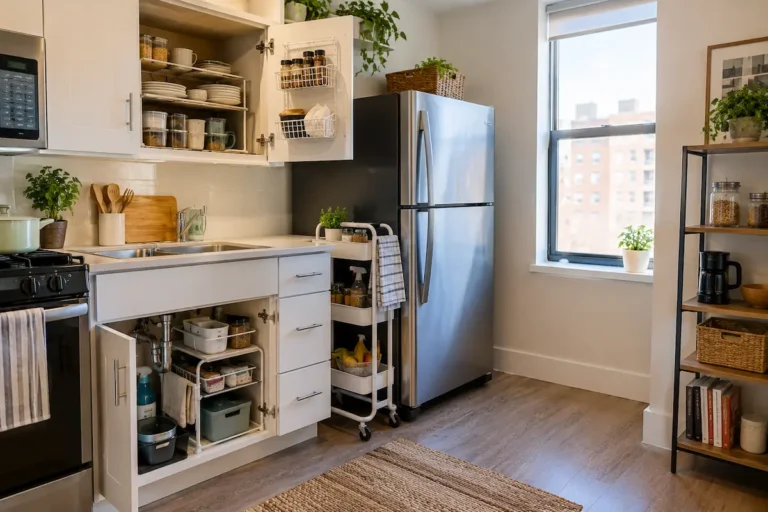
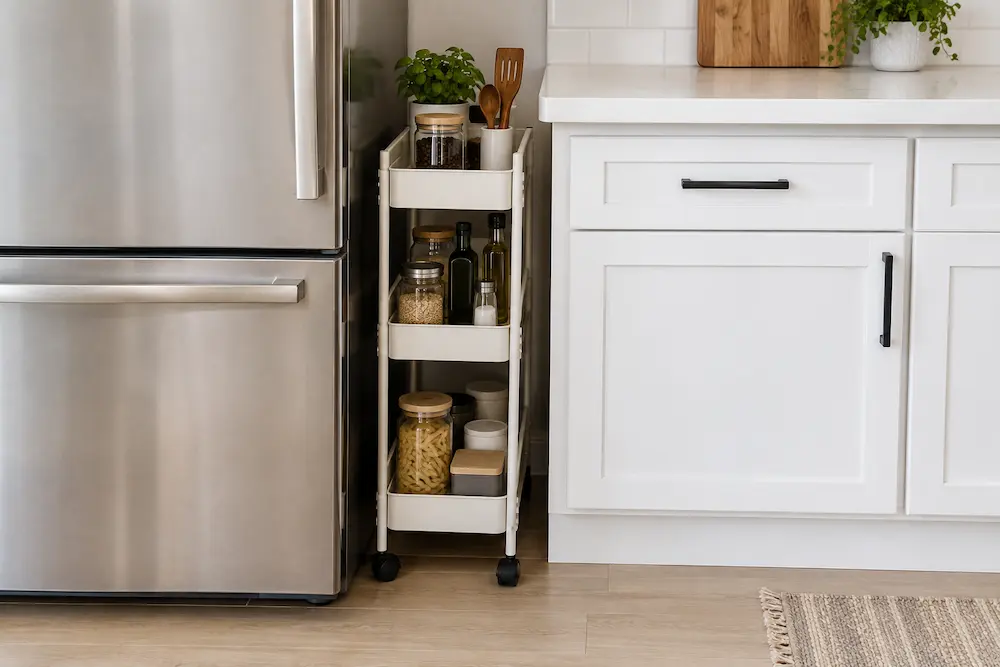
Step 13: Make Awkward Gaps Work Only When They Truly Can
A narrow gap beside a refrigerator or cabinet may look like wasted space.
Sometimes a slim rolling cart can make that space useful.
But measure first.
Check the narrowest part of the opening and make sure the cart will not interfere with:
- Refrigerator doors
- Cabinet doors
- Drawers
- Walking paths
- Appliance requirements
If the cart creates another obstacle, leave the gap alone.
A small kitchen needs usable movement space just as much as it needs storage.
Step 14: Use Corners Carefully
Corners are tempting places to add shelves and carts.
But not every empty corner is available storage.
Before filling a corner, check how people move through the kitchen.
Can cabinet doors open?
Can you comfortably stand at the counter?
Does an appliance need clearance?
Will the added storage make the room feel tighter?
Good organization is not about filling every empty space.
It is about deciding which empty spaces can become useful without reducing the kitchen’s usability.
Step 15: Create One Dedicated Coffee or Breakfast Zone
If coffee, tea, mugs, filters, and breakfast supplies are scattered around the kitchen, consider giving them one defined area.
That might be:
- One cabinet shelf
- A small counter section
- A rolling cart
- A compact freestanding shelf
Keep the things you use every morning close together.
Store backup supplies somewhere less convenient.
This prevents one routine from spreading across the entire kitchen.
Step 16: Use Less Convenient Storage for Rarely Used Items
Once your daily-use areas are organized, look at what remains.
Serving dishes, specialty cookware, seasonal items, and rarely used appliances may not need your easiest shelves.
Move these items higher or farther back where appropriate.
The principle is simple:
Prime storage should support your normal life.
Do not give the best shelf to something you use twice a year while making yourself reach behind it for something you use every morning.
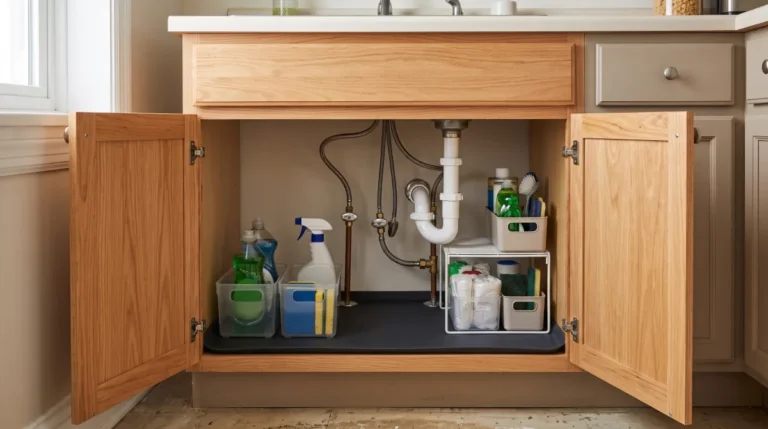
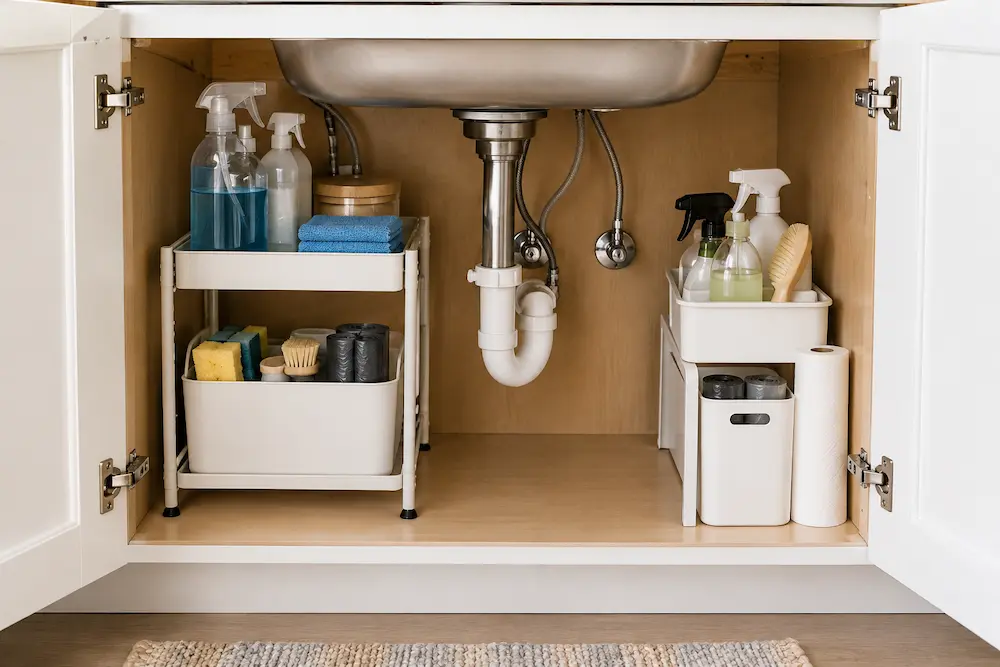
Step 17: Organize Under the Sink Around the Plumbing
The cabinet under the sink is difficult because plumbing takes up valuable space.
Start by working around the pipes instead of trying to fill every available gap.
A suitable adjustable or expandable organizer can help separate cleaning supplies and other appropriate items.
Keep enough space around the plumbing to inspect it and access it when needed.
Do not create a tightly packed cabinet that hides a leak or makes basic maintenance difficult.
For more renter-focused removable storage solutions, see our guide to No-Drill Kitchen Storage Ideas for Renters.
For more detailed guidance on organizing this difficult area, see our guide to under kitchen sink organization ideas, including practical ways to work around plumbing and make better use of the available cabinet space.
Step 18: Measure Before Buying an Organizer
This step prevents a lot of wasted money.
Do not buy an organizer simply because it looks useful in a photograph.
First identify the problem.
Then measure the actual space.
Then choose the product.
For example:
Wasted cabinet height: shelf riser.
Mixed drawer contents: drawer divider.
Difficult-to-remove baking sheets: vertical divider.
Unused narrow gap: slim cart, if the measurements work.
Scattered pantry categories: suitable bins.
The product should follow the problem.
Not the other way around.
Step 19: Keep the System Easy to Put Back
An organization system that looks perfect for one afternoon but takes five minutes to put every item away will probably not last.
The best storage locations are not always the most visually attractive ones.
They are the ones that make putting things away easy.
If you constantly leave something on the counter because its cabinet is awkward to access, that is useful information.
Move it.
If a drawer becomes messy every few days, the category may be too broad.
Change it.
Organization should reduce friction rather than create another household chore.
Step 20: Build a Simple Weekly Reset
A small kitchen benefits from short maintenance rather than occasional major reorganizing.
Once a week, check the areas that become messy fastest.
Look at:
- Main countertop
- Everyday cabinet
- Utensil drawer
- Pantry shelf
- Coffee area
- Appliance storage
Return misplaced items to their homes.
Remove obvious clutter.
Check whether something repeatedly ends up in the wrong place.
If it does, do not just keep putting it back.
Ask why.
The storage location may be inconvenient, the category may be unclear, or the item may need a different home.
That small adjustment is often more useful than buying another organizer.
How to Organize a Small Kitchen Efficiently
If you are starting from scratch, do not try to reorganize the entire kitchen in one afternoon.
Use this order:
1. Declutter
Remove things you no longer need.
2. Identify your daily tasks
Think about where you prepare food, cook, clean, and make breakfast or coffee.
3. Create practical zones
Keep frequently used items close to the places where they are used.
4. Protect the counter
Keep enough working surface available for food preparation.
5. Improve existing storage
Use cabinet height, drawers, doors, and deep storage more effectively.
6. Deal with awkward spaces
Only add carts, shelves, or other solutions after checking measurements and clearance.
7. Create a reset habit
Make putting things away simple enough that the system can survive normal cooking.
This order matters.
If you start by buying organizers, you may end up organizing clutter instead of reducing it.
Small Kitchen Organization on a Budget
You do not need to buy a complete matching collection of containers.
Start with the changes that cost nothing:
- Remove duplicates.
- Move rarely used items.
- Group similar foods.
- Rearrange cabinet contents.
- Create a daily-use zone.
- Clear unnecessary counter items.
- Give drawers clearer categories.
Then identify the problems that remain.
Spend money only where a specific product solves one of them.
A shelf riser can make sense when cabinet height is wasted.
A drawer divider can make sense when tools repeatedly become mixed.
A slim cart can make sense when you have a genuine, measured gap.
This problem-first approach is usually more useful than buying organizers because they look good together.
Small Kitchen Organization Mistakes to Avoid
Buying Organizers Before Measuring
A product that does not fit is not a storage solution.
Measure the actual usable space, including doors, hinges, pipes, and surrounding clearance.
Trying to Use Every Inch
Some empty space is necessary.
You need room to open doors, move around, prepare food, and access appliances.
Keeping Rarely Used Items in Prime Storage
The easiest storage should support your everyday routine.
Treating the Counter as a Storage Unit
A countertop is one of your most valuable work surfaces.
Organizing for Appearance Instead of Use
A beautifully arranged cabinet is not helpful if the items you use every day are difficult to reach.
Making the System Too Complicated
If putting something away requires several steps, people are likely to leave it out.
Simple systems tend to be easier to maintain.
How to Organize a Very Small Kitchen
When the kitchen is extremely small, prioritize function over quantity.
Start with the items you use every day.
Give them the easiest access.
Then move outward:
Daily-use items → occasional items → rarely used items.
Protect one useful preparation surface.
Use cabinet height where possible.
Make drawers and cabinets easier to scan.
Then look at overlooked spaces such as cabinet doors, narrow gaps, and the area under the sink.
Wall space can also be useful when floor and cabinet storage are limited. For more practical ideas, see our Kitchen Wall Storage Ideas guide.
Only add storage products when they solve a specific remaining problem.
If you are looking for broader storage ideas beyond organization systems, our 35 Smart Storage Ideas for the Kitchen article covers a wider range of kitchen storage solutions.
Frequently Asked Questions
What are the best small kitchen organization ideas?
The most useful starting points are decluttering, organizing around daily tasks, giving frequently used items easy access, protecting counter space, improving cabinet and drawer layouts, and adding storage products only when they solve a measured problem.
How do I organize a small kitchen with limited cabinets?
Reduce what you need to store first. Then prioritize everyday items, use vertical cabinet space, improve drawer organization, group pantry categories, and move rarely used items into less convenient storage.
How do I make a small kitchen feel less cluttered?
Start with the visible areas. Remove unnecessary items from the counter, keep everyday tools accessible but controlled, and give everything else a defined storage location.
How should I organize kitchen cabinets in a small kitchen?
Organize cabinets according to frequency and task. Keep everyday items easy to reach, group related items together, use unused vertical height where appropriate, and avoid hiding frequently used items behind rarely used ones.
Should I buy organizers before decluttering?
Usually, no.
Decluttering first tells you what actually needs to be organized. Once you know the problem, you can measure the space and choose an organizer that solves it.
How can I organize a very small kitchen without making it feel crowded?
Avoid filling every empty area with storage. Protect movement paths and work surfaces, use existing cabinet height efficiently, and choose only storage solutions that improve access without creating another obstacle.
Final Takeaway
A small kitchen does not need to hold more things simply because there is an empty space somewhere.
It needs a system that makes the things you actually use easy to reach and easy to put away.
Start by reducing what the kitchen has to hold.
Then organize around your daily tasks, protect your main work surface, give everyday items the best storage locations, and improve specific cabinet, drawer, pantry, or gap problems one at a time.
When the system is simple enough to maintain, a small kitchen can feel much more workable without adding another cabinet or filling every available inch.