How to Organize Food Storage Containers (and Keep Lids Matched)
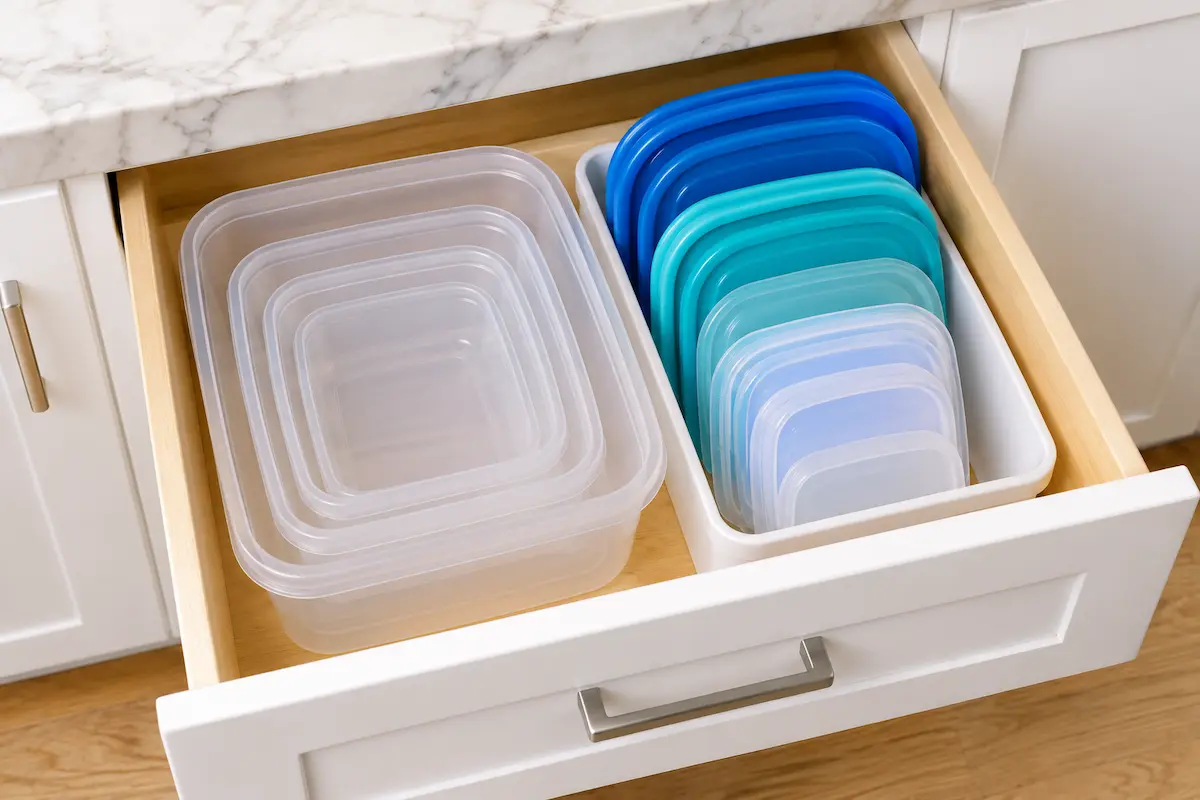
Short answer: Cut the set down to what fits one drawer or one shelf. Nest the bases by shape, largest at the bottom, and stand the lids on edge in a bin or divider next to them. Keep lids on the containers only if your shelf has the height for a full stack, which a two-minute stack test will tell you.
You need one container and its lid, and the cabinet hands you everything else first. Lids slide out of a leaning stack, the base you want is wedged under three others, and the matching lid is nowhere in sight. Most of that mess comes from three things: too many pieces, no single home for them, and a storage method that doesn’t fit the space you have.
This guide shows how to organize food storage containers in a drawer, a base cabinet or an upper shelf, with no tools and no screws. It also covers how to tell whether lids on or lids off will work in your kitchen before you rearrange anything.
| Your space | Setup that works | Skip it if |
|---|---|---|
| Deep drawer | Nested bases on one side, lids on edge in a bin or divider on the other | Your nested stack is taller than the drawer’s inside height |
| Shallow drawer with a cabinet below | Lids laid flat by size in the drawer, nested bases in the cabinet underneath | You want the base and lid in one grab |
| Base cabinet with doors | Two bins that slide out like drawers: bases in one, lids in the other | The bins are wider than the door opening |
| Upper cabinet or pantry shelf | Two labeled bins you can lift down; lids on if the shelf is tall enough | The shelf is above your shoulders and the bins hold glass |
Cut the set down before you organize
Take every container and lid out and put them on the counter. Then match each base to its lid by snapping them together. A lid that almost fits doesn’t count.
Let these go:
- Bases with no lid, and lids with no base
- Cracked, warped or melted pieces, since a warped lid may not seal
- Containers stained or smelly enough that you skip them every time
- Matched sets you haven’t used in months (donate them if they’re in good shape)
How many containers do you need?
Count the containers in use on your busiest day: the ones in the fridge, in lunch bags and in the sink. Add two or three spares. That’s your keep number. This is our rule of thumb, not a standard, but it ties the set to how you cook.
Fridge containers come back fast. The USDA Food Safety and Inspection Service says leftovers can be kept in the refrigerator for 3 to 4 days or frozen for 3 to 4 months. A fridge container should be empty and back in the drawer within a few days. A freezer container can be in use for months, so count freezer containers separately.
The simplest limit is the space itself. Keep what fits your one drawer or shelf, and nothing more.
Lids on or lids off? Test your set first
Organizers split on this. Some nest the bases and keep the lids apart. Others snap every lid on and stack. Both work, but they need different space. Lids on needs height, because each container keeps its full height in the stack. Lids off needs less height but more width, because the lids take their own lane.
Do this two-minute stack test before you choose:
- Take the size you use most and stack four of them with the lids on (or as many as you own).
- Measure the height of that stack.
- Measure the clear height of your spot: the gap to the shelf above, or the inside depth of the drawer. Leave about an inch so the stack doesn’t scrape when you pull it out or close the drawer (our rule of thumb).
- If the stack fits with room to spare, lids on can work there. If it doesn’t, nest the bases and file the lids.
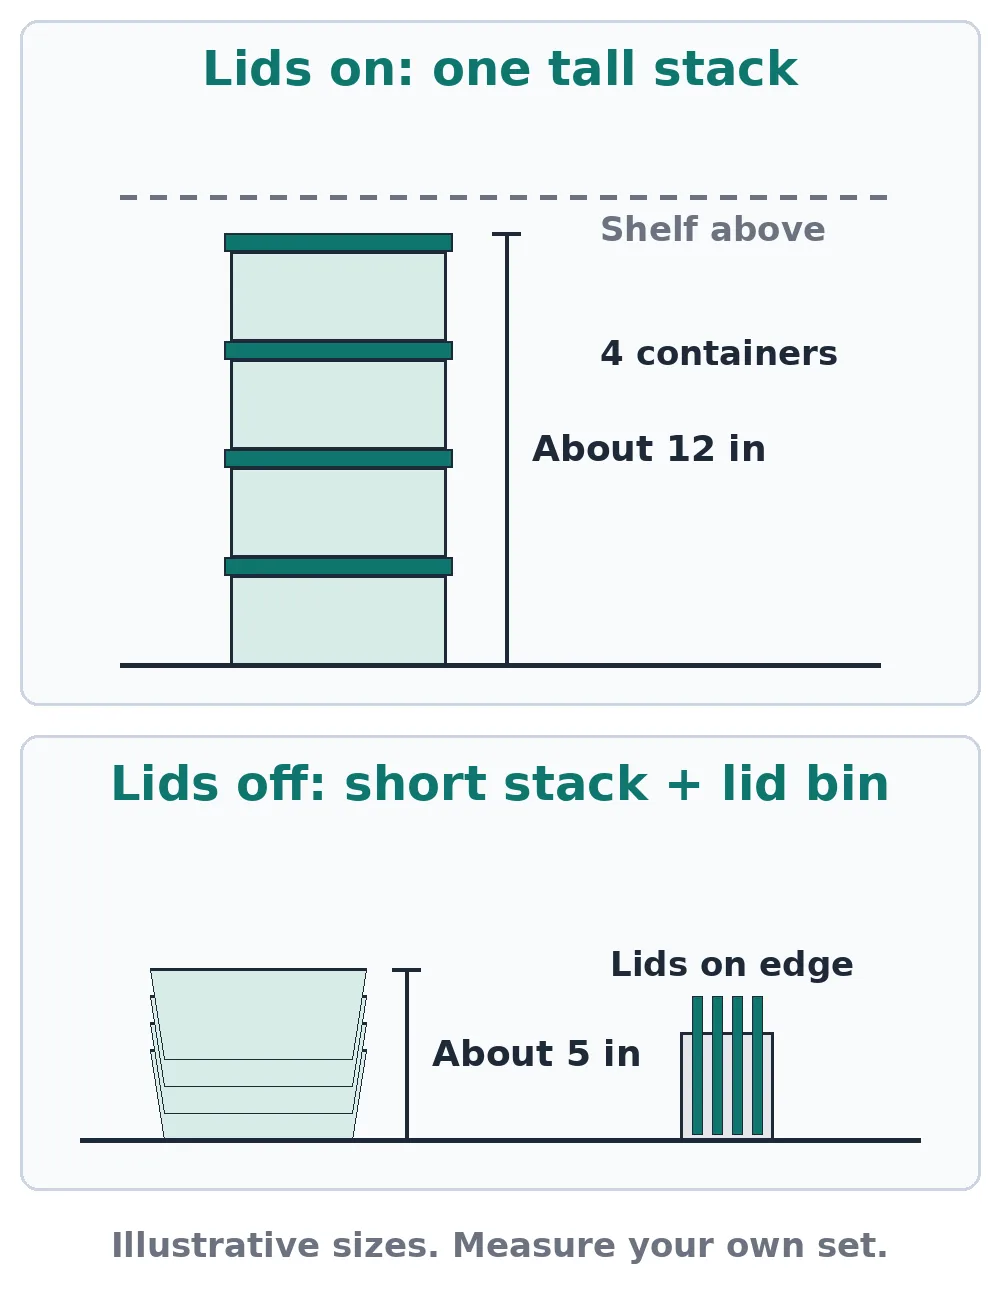
In the illustrative example in the diagram, four containers stack to about 12 inches with the lids on. Nested without lids, the same four bases come to about 5 inches, and the lids stand in a narrow bin beside them. Your numbers will differ, which is why the test uses your own set.
| Lids on | Lids off (nested) | |
|---|---|---|
| Space it needs | Full stack height | Less height, plus a lane for lids |
| Finding a match | One grab | A base, then its lid |
| Best for | A small matching set and a tall shelf | Drawers, mixed sets and small kitchens |
| What goes wrong | Tall stacks tip or hit the shelf above | Loose lids fall flat unless something holds them up |
Nest the bases and file the lids
Sort the bases by shape first: rounds with rounds, squares with squares, rectangles with rectangles. Nest each shape with the largest at the bottom. Keep stacks short enough to lift out with one hand.
Lids are the hard part. Don’t lay them flat in a pile. Stand them on edge from largest to smallest, like files in a drawer, so you can see every lid and pull one without moving the rest. A plastic bin, a dish rack, a file sorter or a drawer divider all hold them up.
Glass containers are heavier and often don’t nest as tightly. Give them a low drawer or a low shelf, and keep the stacks short.
How to organize food storage containers in a drawer, cabinet or shelf
Pick one home and keep every container there. Splitting them across three cabinets is how sets drift apart. A spot between the fridge and the sink or dishwasher saves steps, because that’s where containers get filled, emptied and unloaded. To plan the rest of the kitchen around that spot, see how to set up cabinet zones.
In a drawer
A drawer is the easiest home because you look down on everything. Split it in two: nested bases on one side, lids on edge on the other. A bin or an adjustable divider keeps the two sides from mixing when the drawer slams shut.
In a base cabinet with doors (no spare drawer)
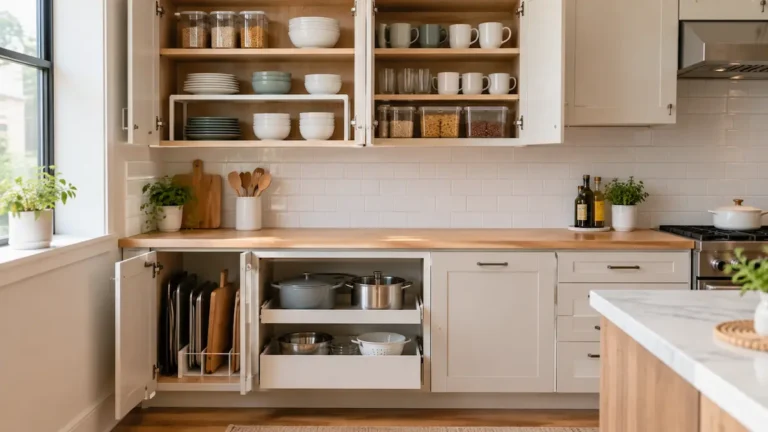
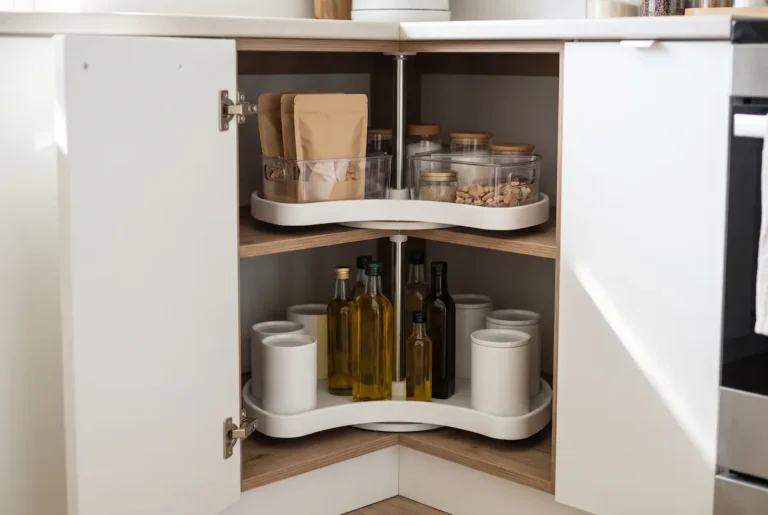
This is where most container avalanches happen. The cabinet is deep, the back is dark, and stacks get pushed out of reach. Two bins fix it without tools. Put the nested bases in one bin and the lids in another, and slide the bins out like drawers.
Size the bins to the cabinet, not the shelf. Hinges and the face frame narrow the opening, so a bin that fits the shelf can still catch on the way out. Measure the clear opening of the cabinet before you buy bins.
On an upper cabinet or pantry shelf
If a shelf is all you have, use the same two-bin method and label the bins so everyone puts pieces back in the right one. A shelf above eye level only works with bins you can lift down with one hand, so keep glass on lower shelves. For long, deep shelves, see our guide to organizing deep pantry shelves.
No-drill fixes for renters
Every setup above works without screws. A few cheap items do most of the work:
- Bins with straight sides turn a cabinet shelf into pull-out drawers.
- A dish rack or file sorter holds lids on edge on a shelf or in a bin.
- A tension rod set across a drawer or a wide bin makes a lane that keeps lids standing.
- A shelf riser splits a tall cabinet so a short stack of bases isn’t wasting the space above it.
Pull-out organizers that screw into the cabinet floor are a different job. In a rental, check your lease and get the landlord’s approval first. For more ideas that leave the cabinets alone, see our no-drill kitchen storage ideas for renters.
If you replace your set, check these four things
Sometimes the mixed set is the problem. In the reader discussions we read, several people said switching to one matching set was what finally kept their container drawer tidy. If you go that way, check these before you buy:
- Sizes that share a lid. Several base sizes that take the same lid mean fewer lids to match.
- Bases that nest when empty. Look for product photos or descriptions that show the empty bases stacked inside each other.
- Lids that stand on edge. Flat lids file neatly. Long latch flaps make lids harder to stand up, and one reader we read found them a pain in the dishwasher.
- Care rules you will follow. Read the label for dishwasher rack and microwave instructions. If the lids are top-rack only and your top rack is always full, you’ll be hand-washing.
Fewer sizes beat more pieces. A set that covers lunches, leftovers and one or two large containers is usually enough. Keep the one big container you use for holidays somewhere else.
Keep it organized
- Dry everything before it goes back. Tupperware’s care guidance says to store containers without their seals when not in use so fresh air can circulate.
- One in, one out. When a takeout container or a new set comes home, an old piece leaves.
- Put lids back on edge, not on top of the bases.
- Keep pot lids out of this drawer. They are a different shape and a different job; see our guide to organizing pot lids.
Food storage container organization FAQ
Should you store food storage containers with lids on or off?
Lids off saves space, because the bases nest. Lids on saves time, because every container is ready to grab. Run the stack test above: if four lidded containers fit your shelf height with room to spare, lids on can work there.
How do you organize food storage containers in a cabinet?
Use two bins, one for nested bases and one for lids standing on edge, and slide them out like drawers. Measure the cabinet’s door opening before you buy bins.
How many food storage containers do you need?
Count the containers in use on your busiest day and add two or three spares. Fridge leftovers keep 3 to 4 days according to the USDA, so those containers come back quickly. Count freezer containers separately.
How do you store glass food storage containers?
Keep them low, in a bottom drawer or on a lower shelf, in short stacks. Glass is heavier than plastic and often doesn’t nest as tightly.
How should you store food storage containers when they’re not in use?
Make sure every base and lid is completely dry first. Tupperware’s care guidance recommends storing containers without their seals so air can circulate. If you keep lids on for space reasons and notice odors, switch to lids off or rest the lids loosely on top.
How we put this guide together
This guide is based on published guidance from the USDA Food Safety and Inspection Service and Tupperware’s care pages, a review of the top-ranking organizing guides for this topic, and reader discussions about container storage. We did not buy, install or test any containers or organizers. The stack test, the keep-number rule and the sizes in the diagram are our own rules of thumb or illustrations, and they are labeled as such.
Sources: